Rifle Rods

Increase the long-gun capacity of your gun safe by up to 50% with these innovative rods that keep all your rifles and shotguns stable, separated, and organized, allowing you to utilize space that would otherwise be wasted.

➡️ Utilize Wasted Space
➡️ Great for Guns with Scopes
🇺🇸 Made in the USA

📦 *Free shipping on accessory, apparel, and handgun vault orders $100+
*Free shipping is only available in the contiguous 48 U.S
Regular price$43.99
/
Shipping calculated at checkout.

Full Description

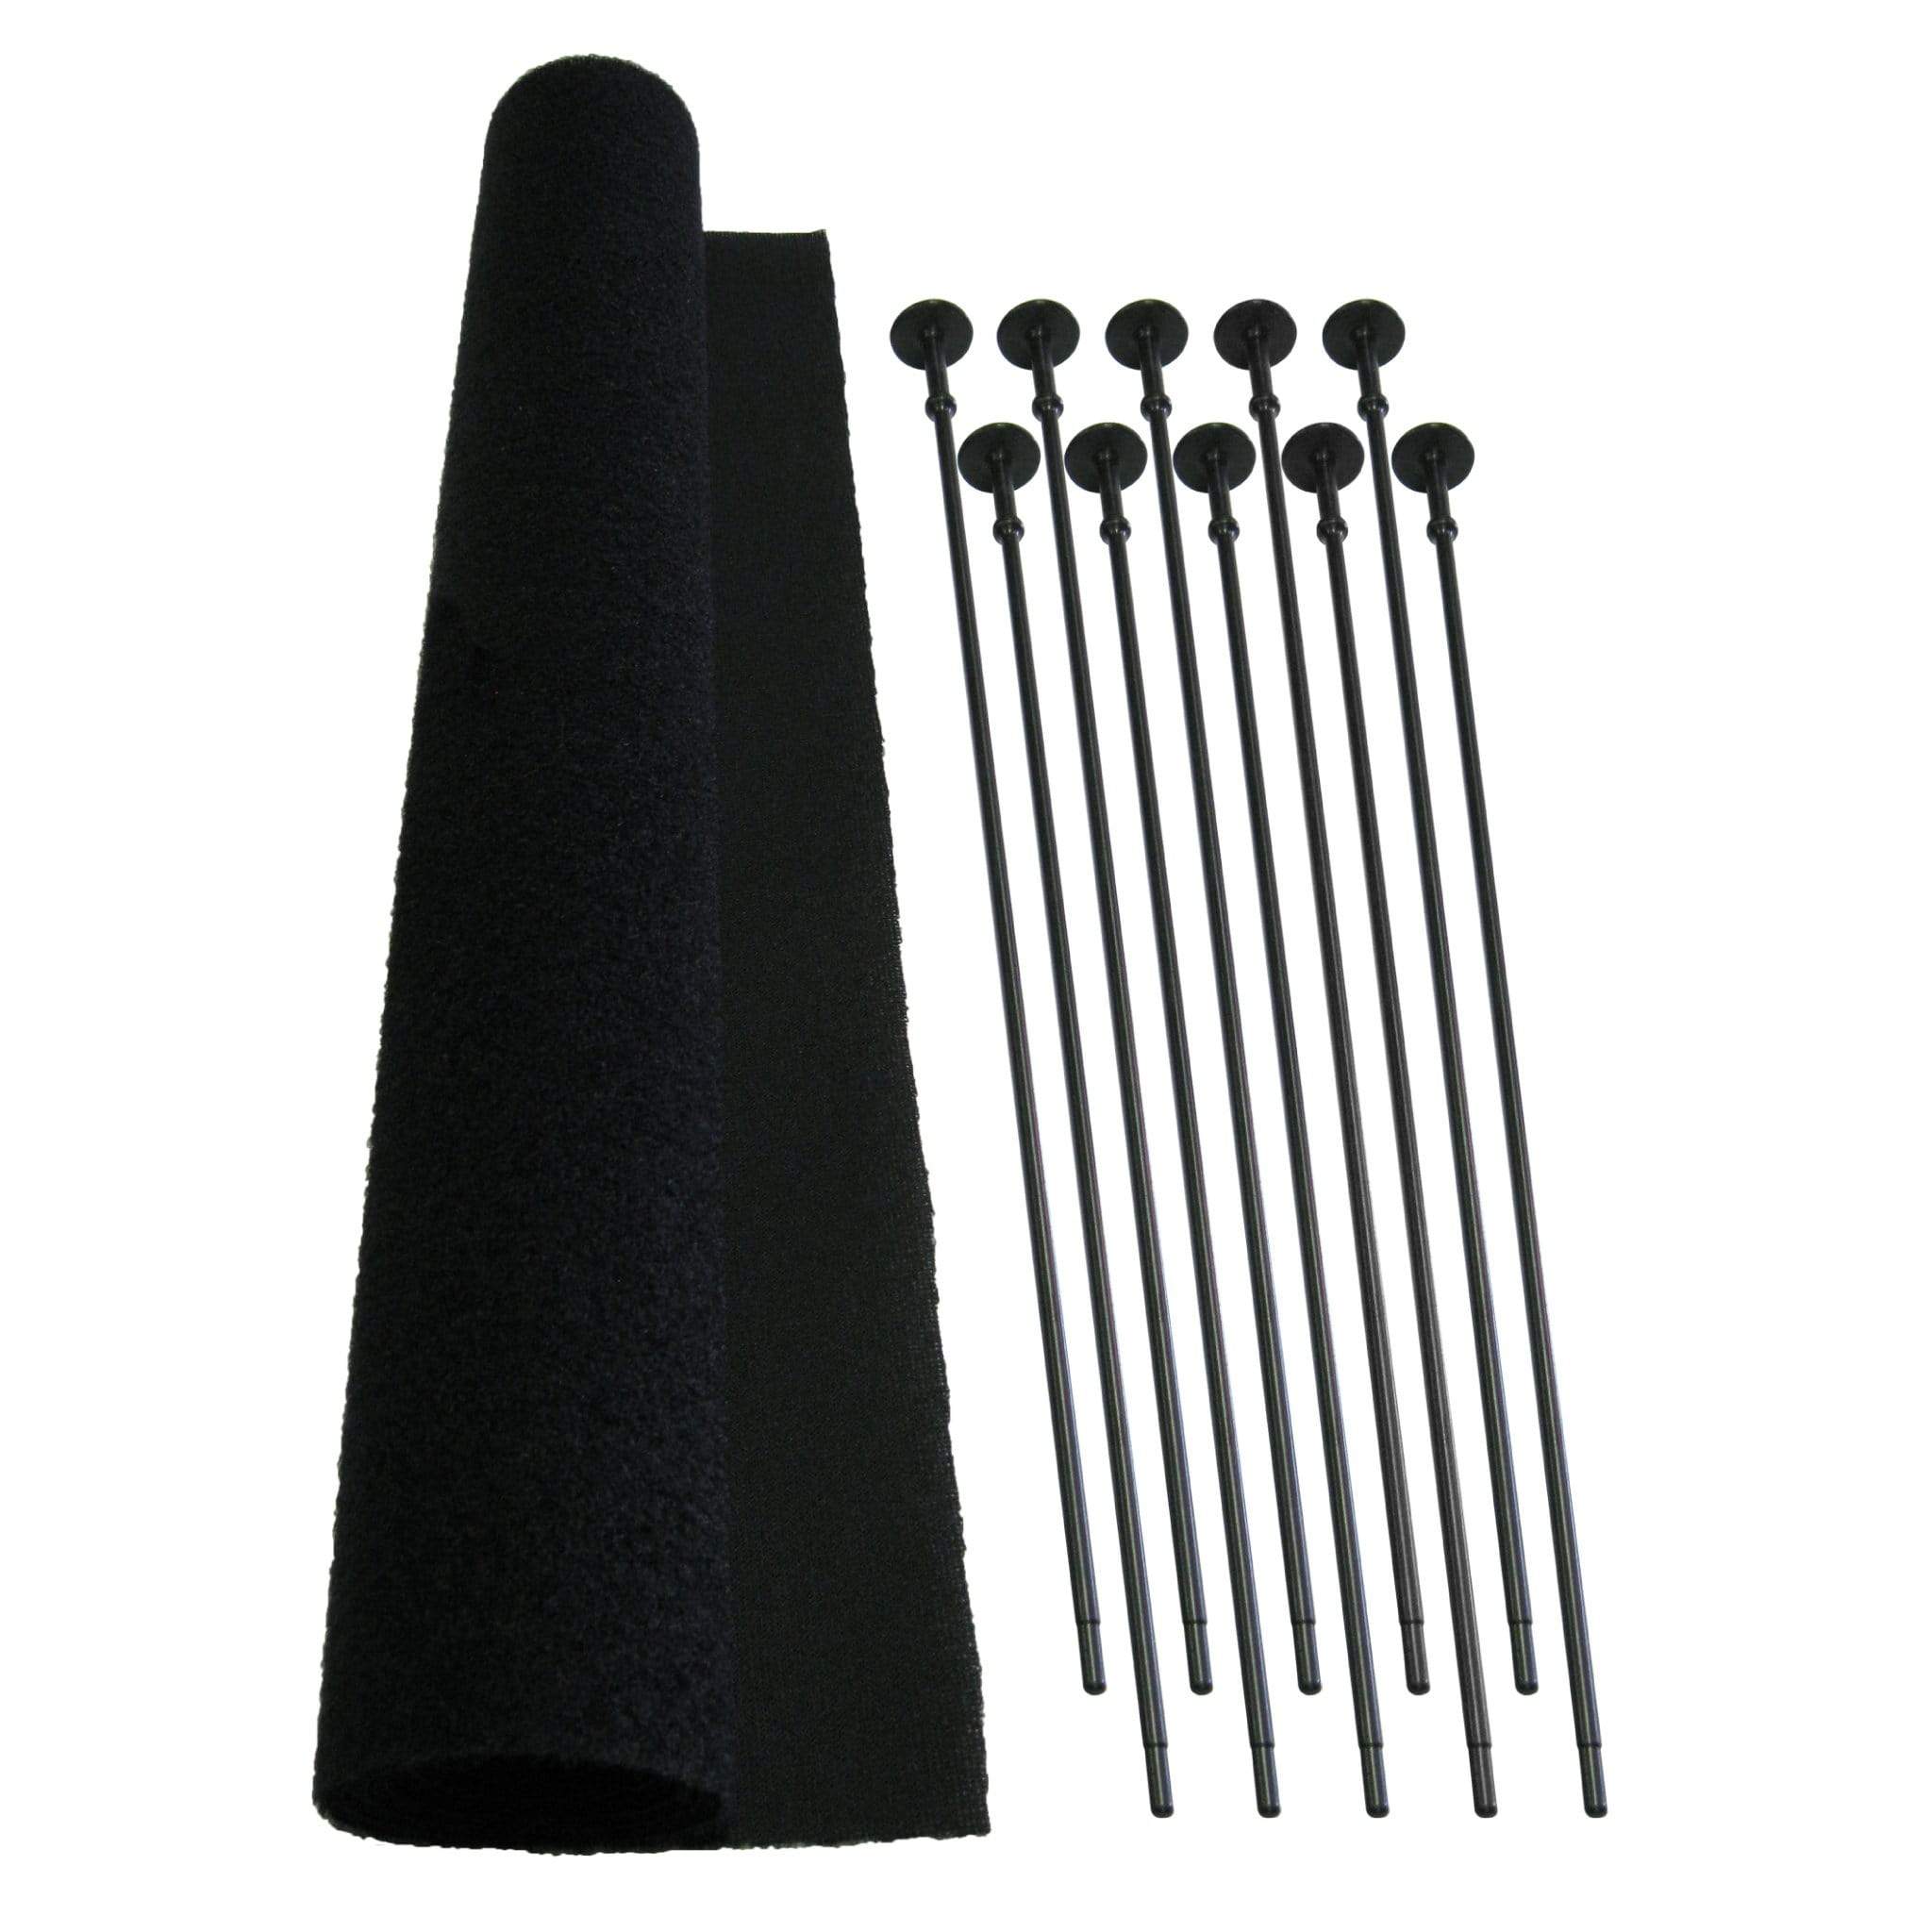
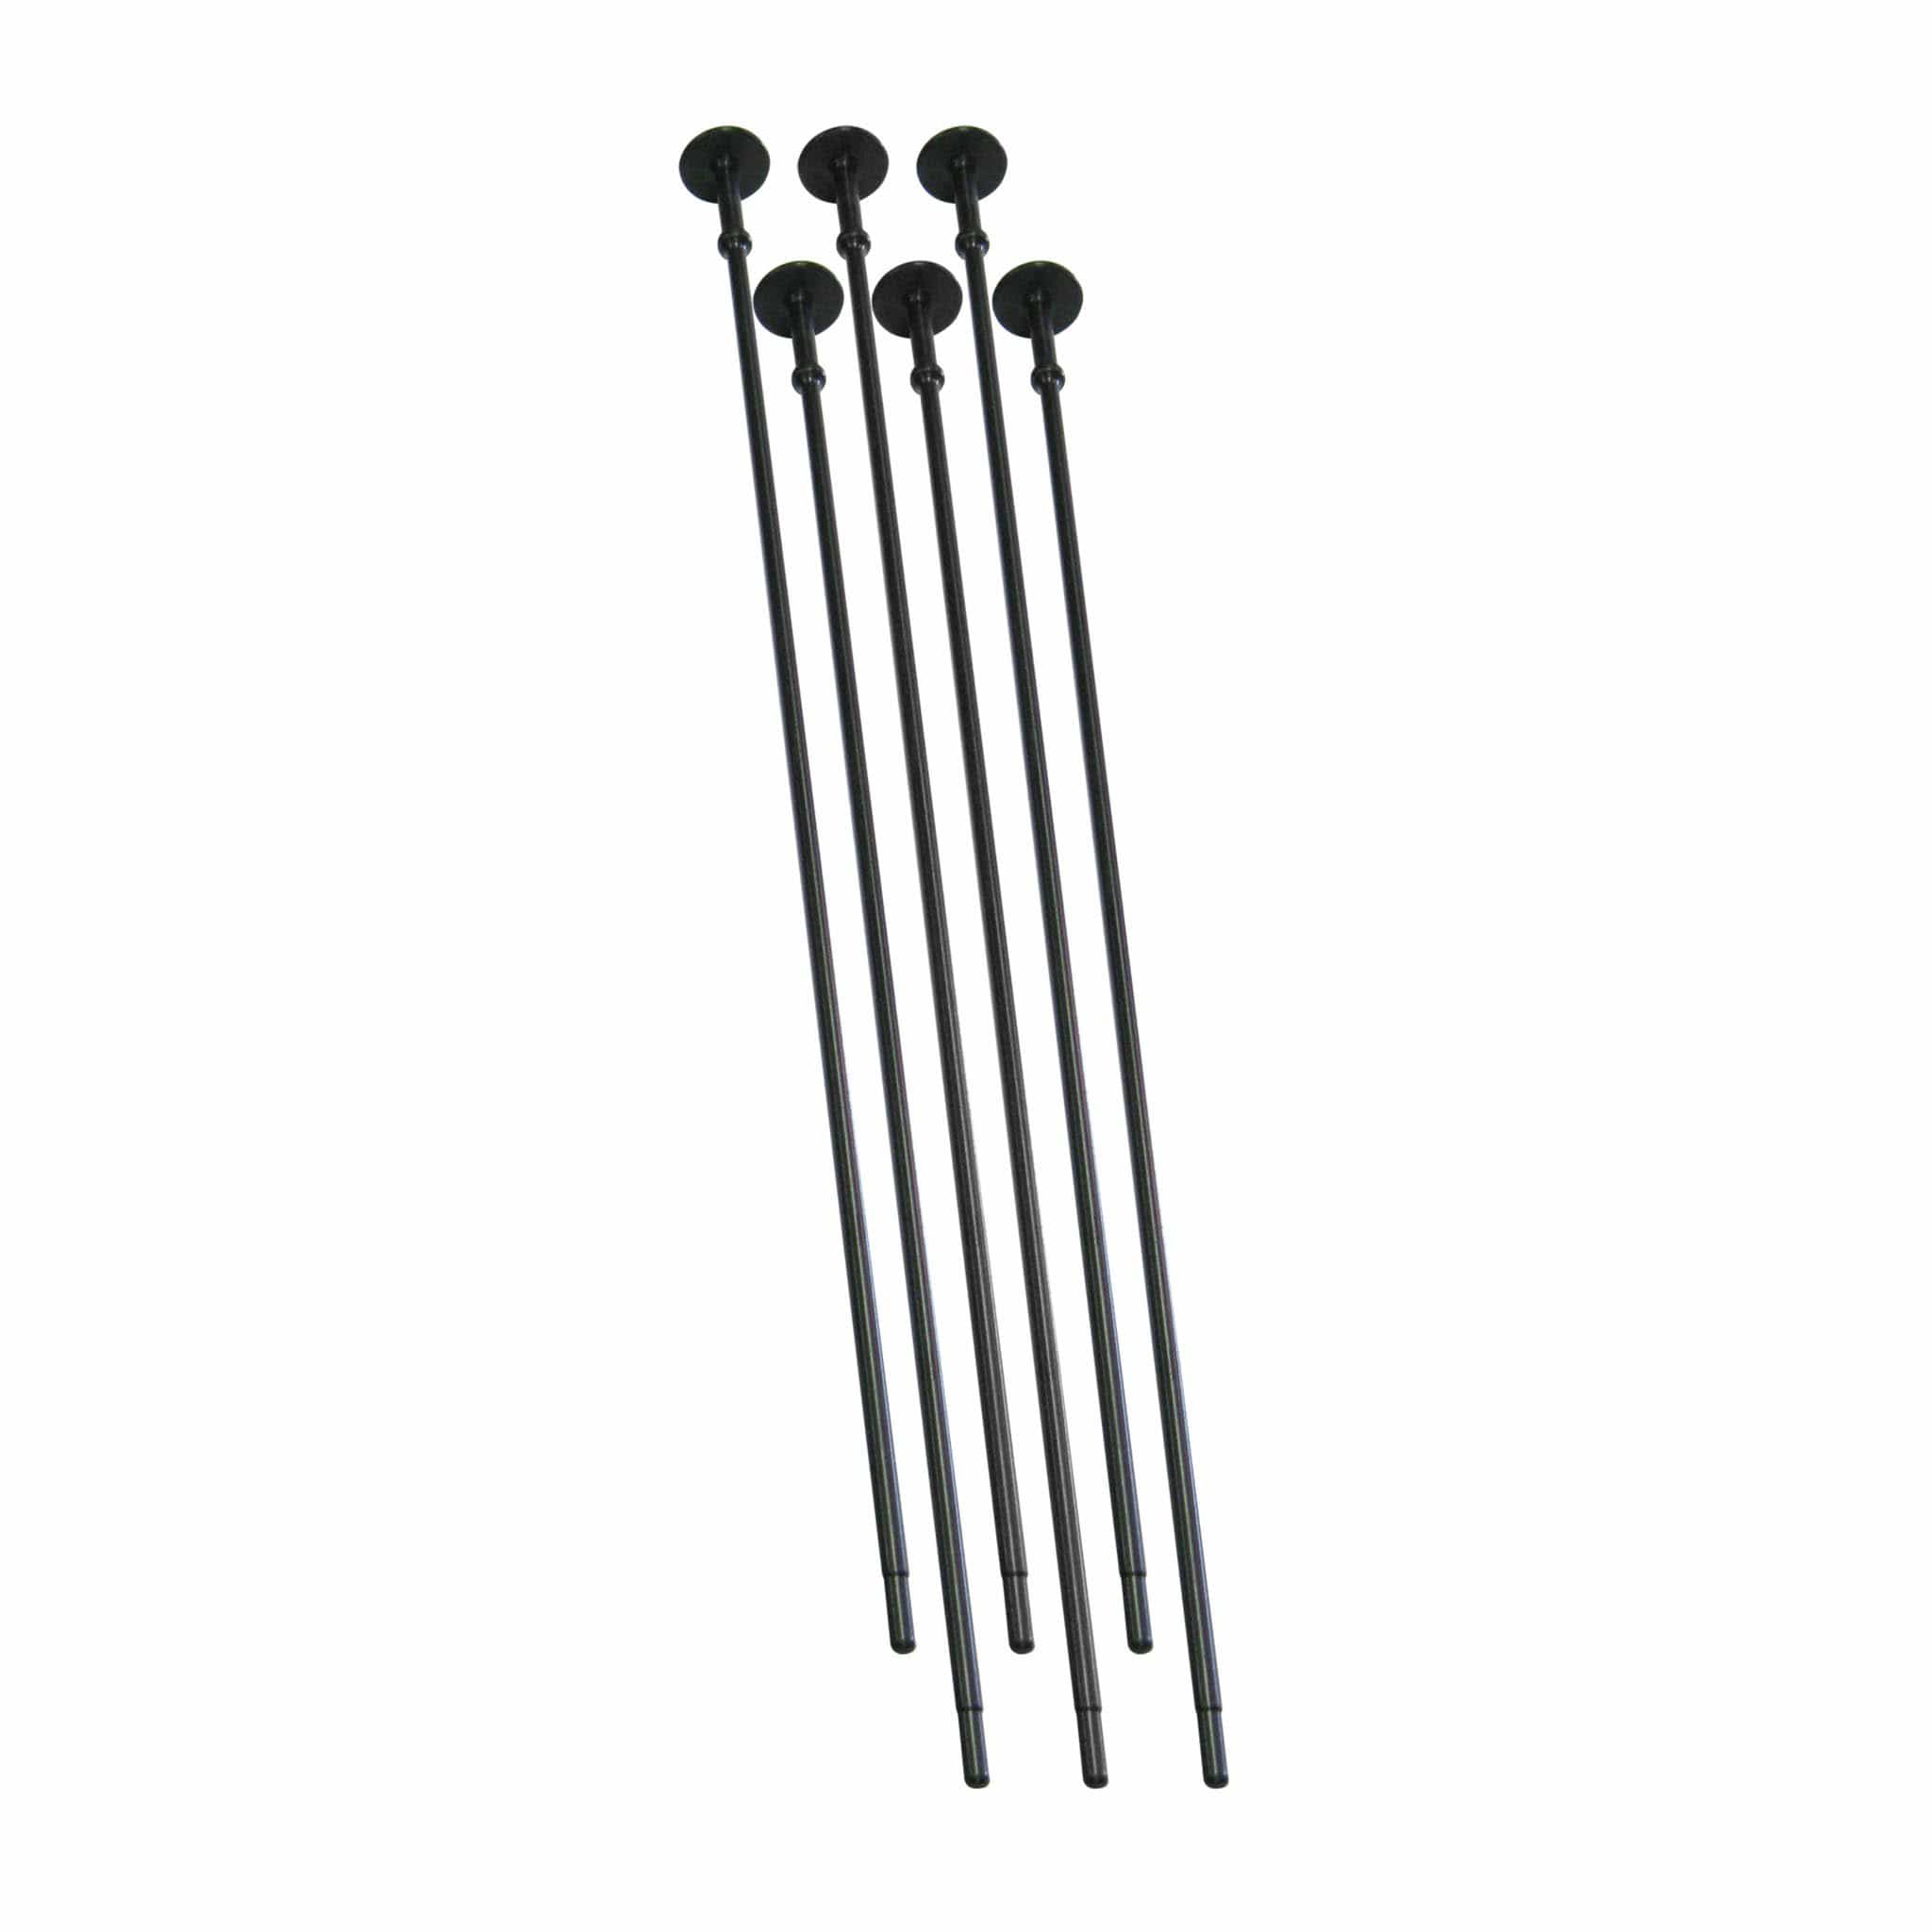
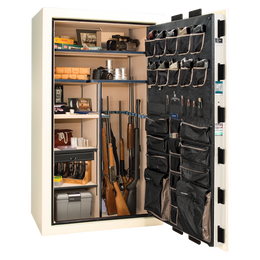
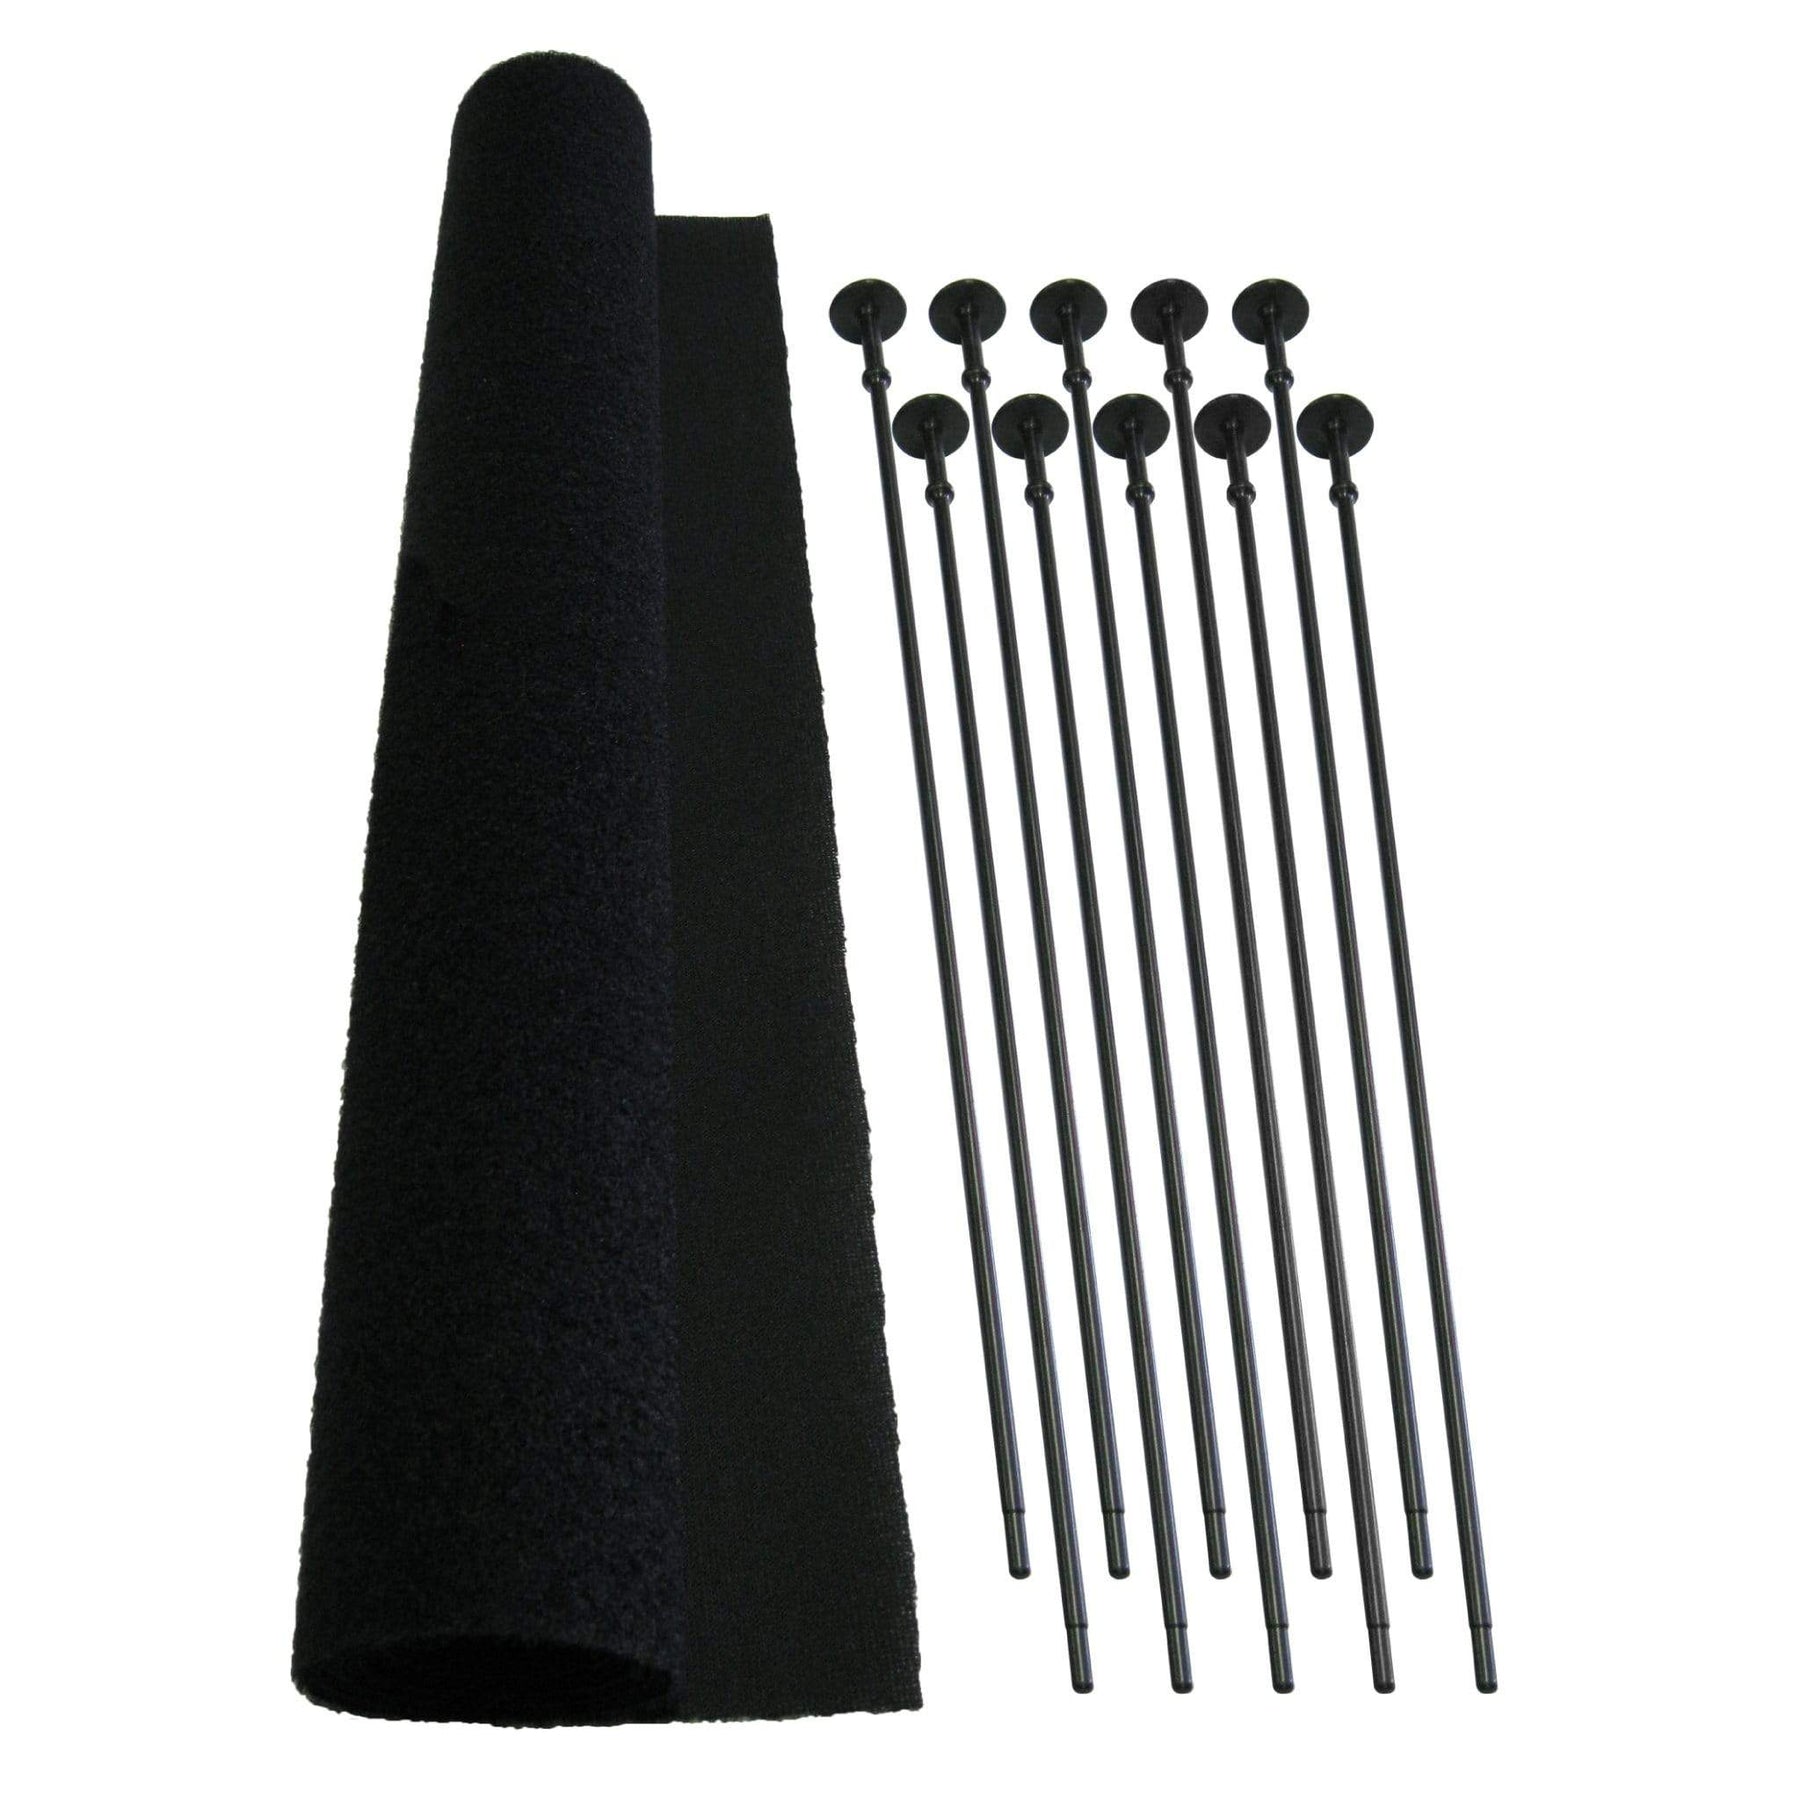
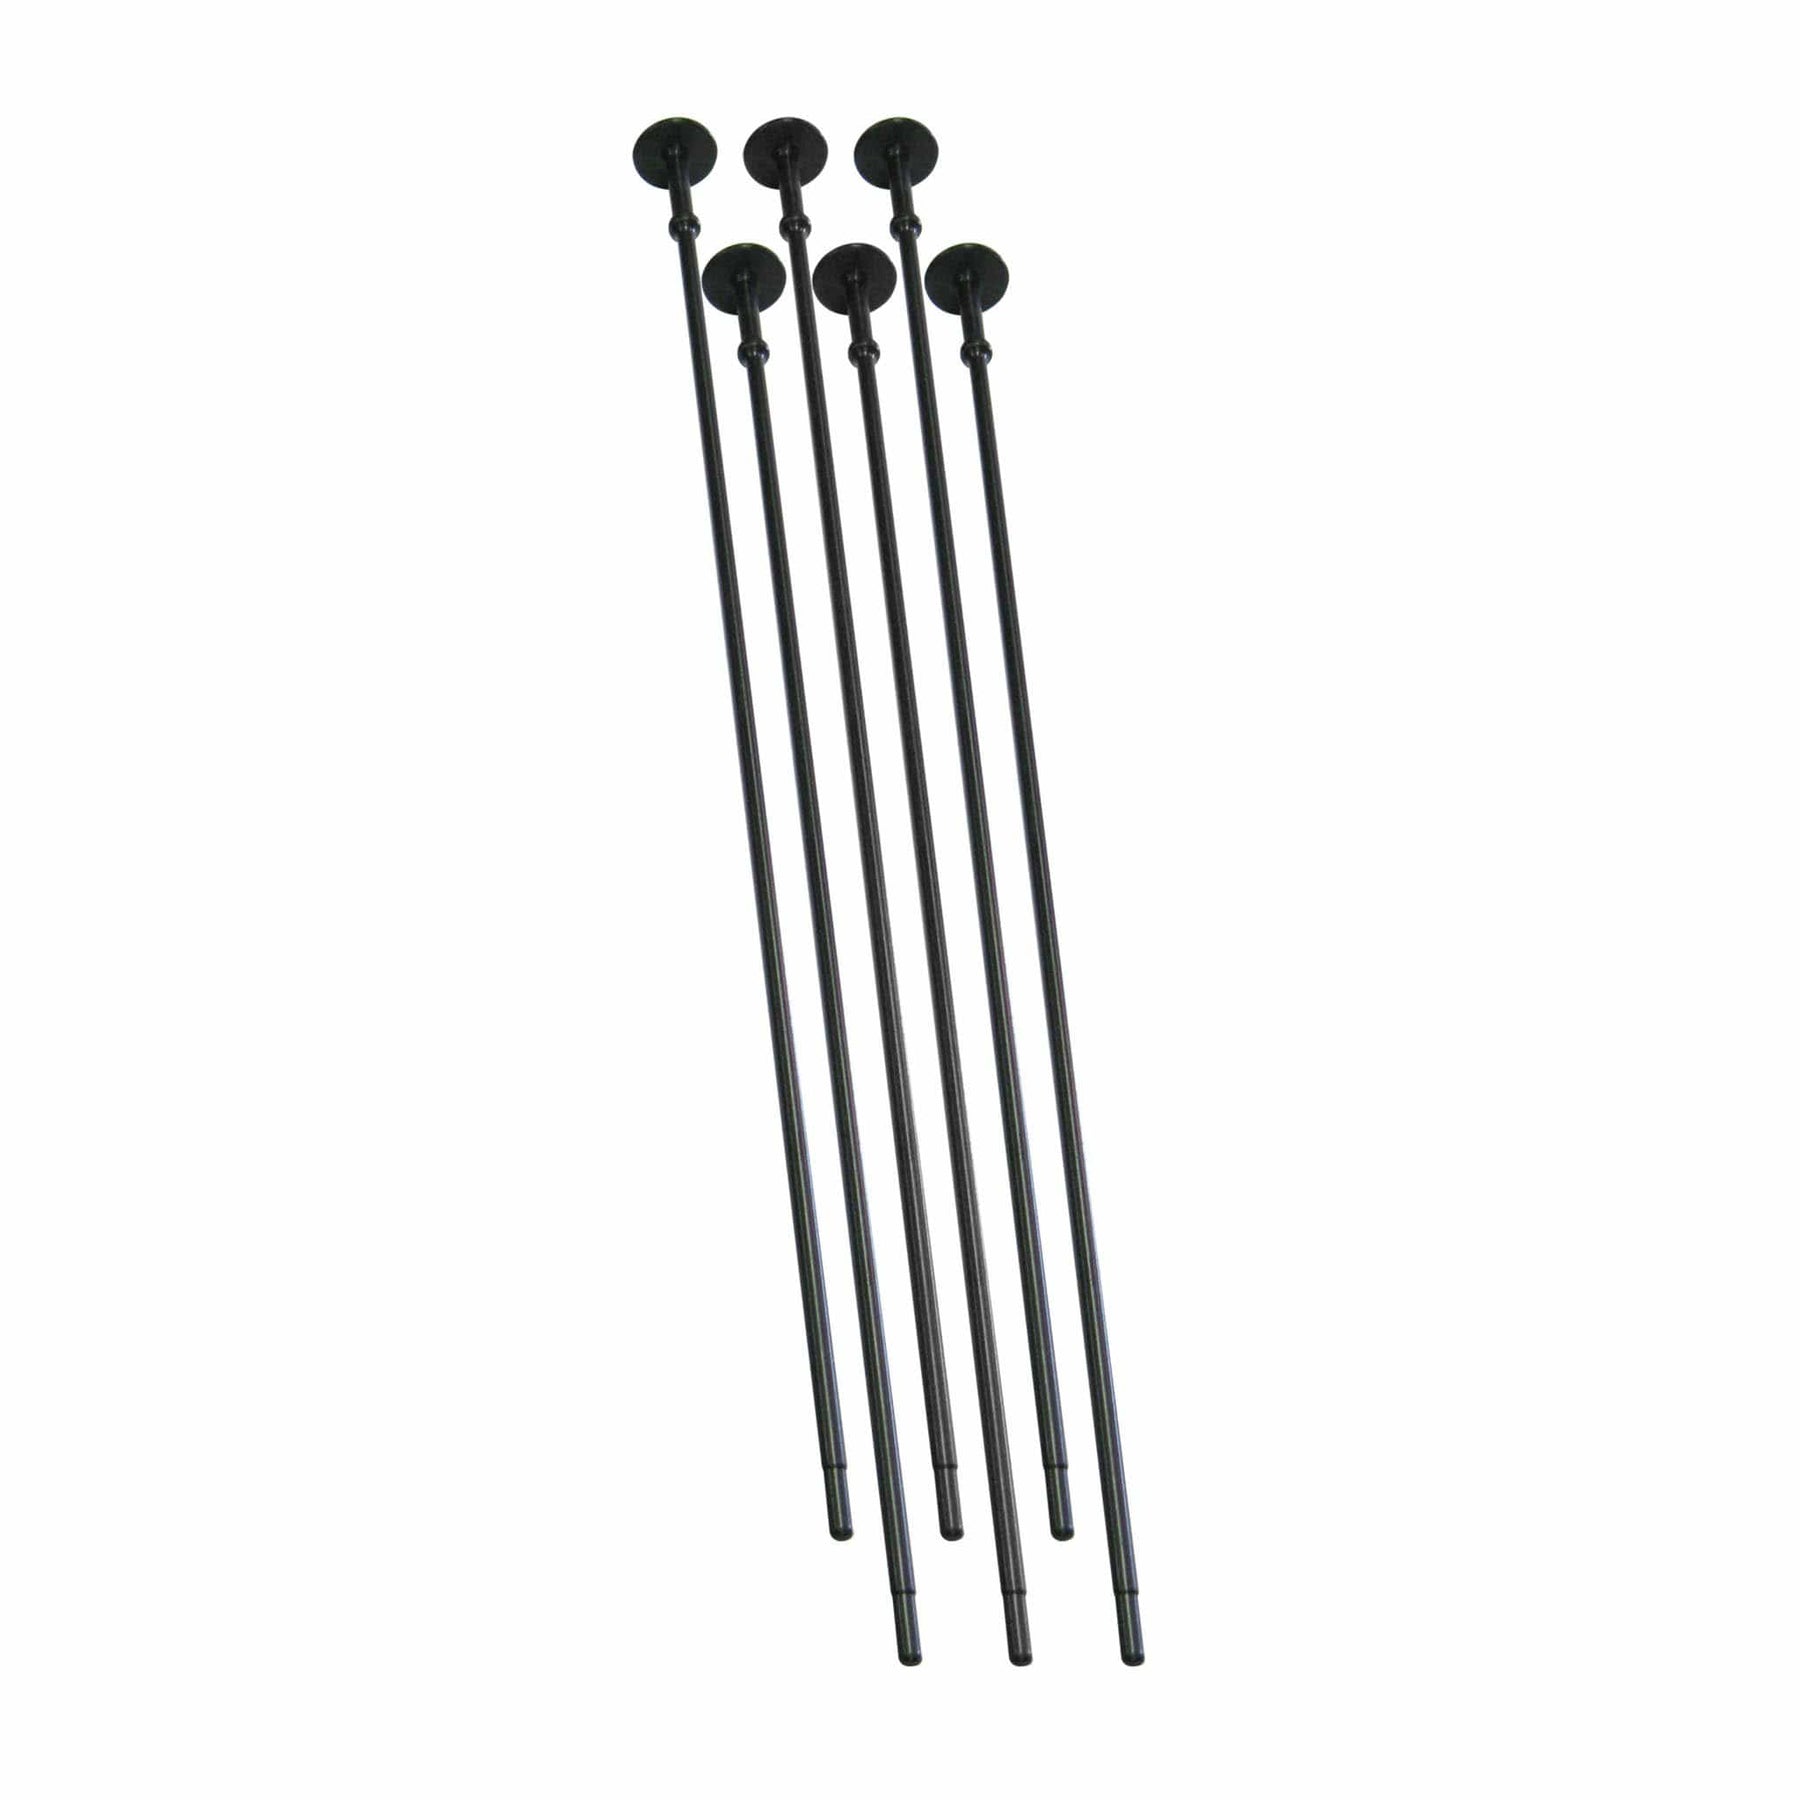
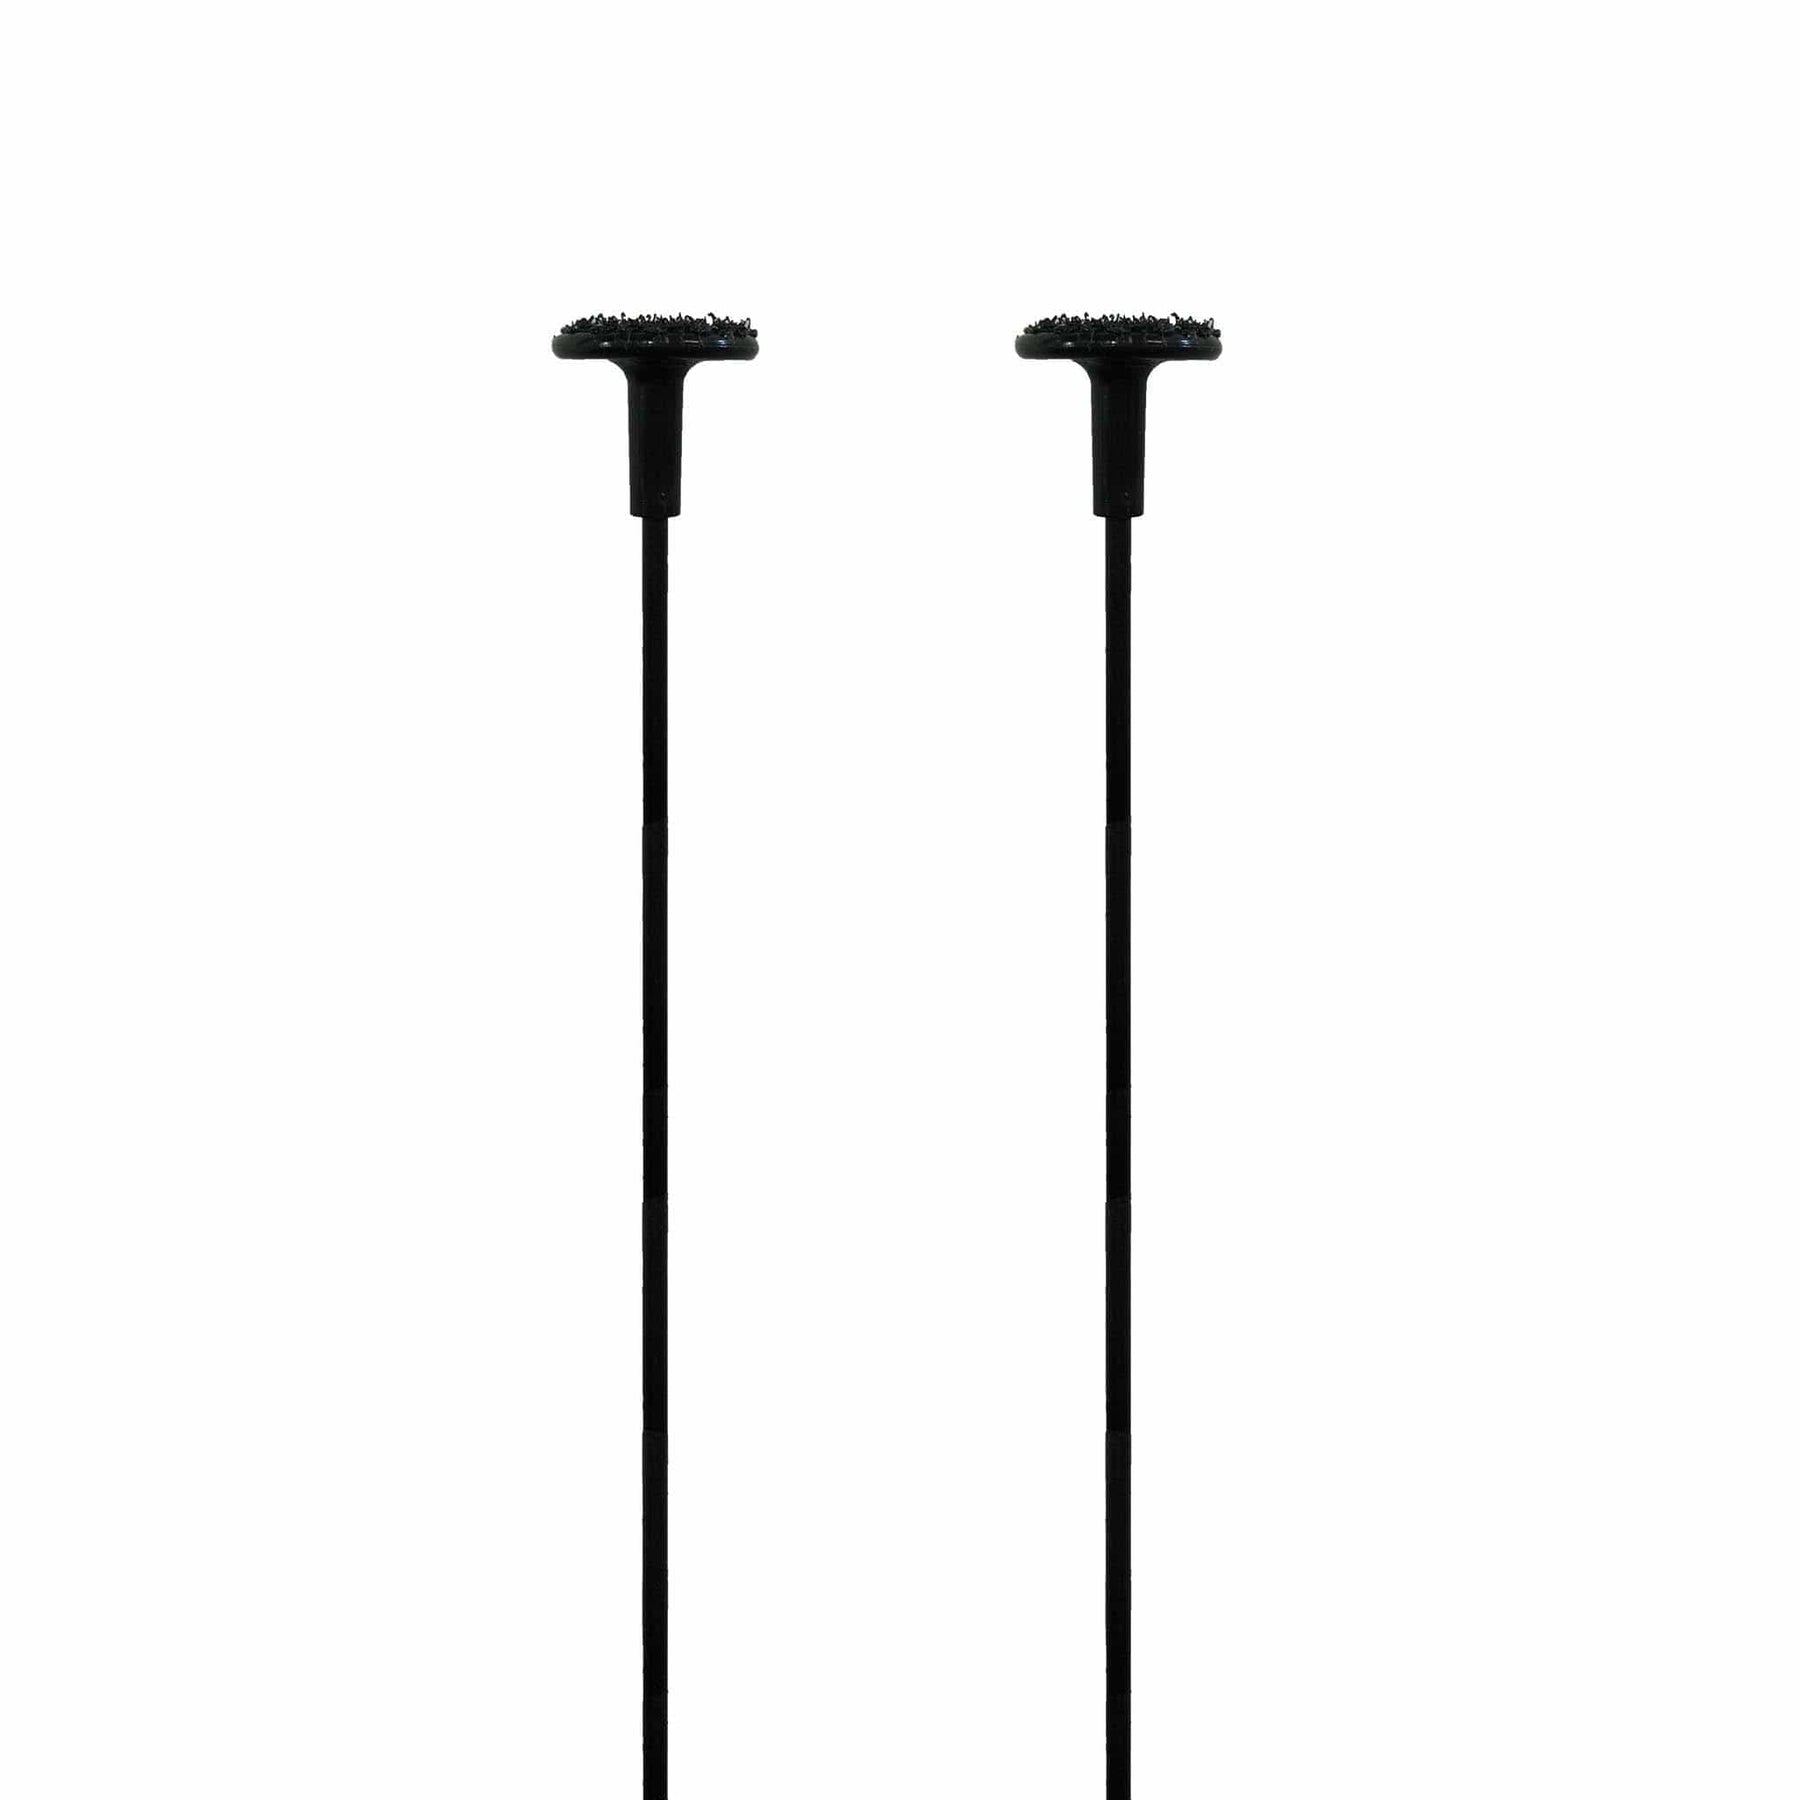
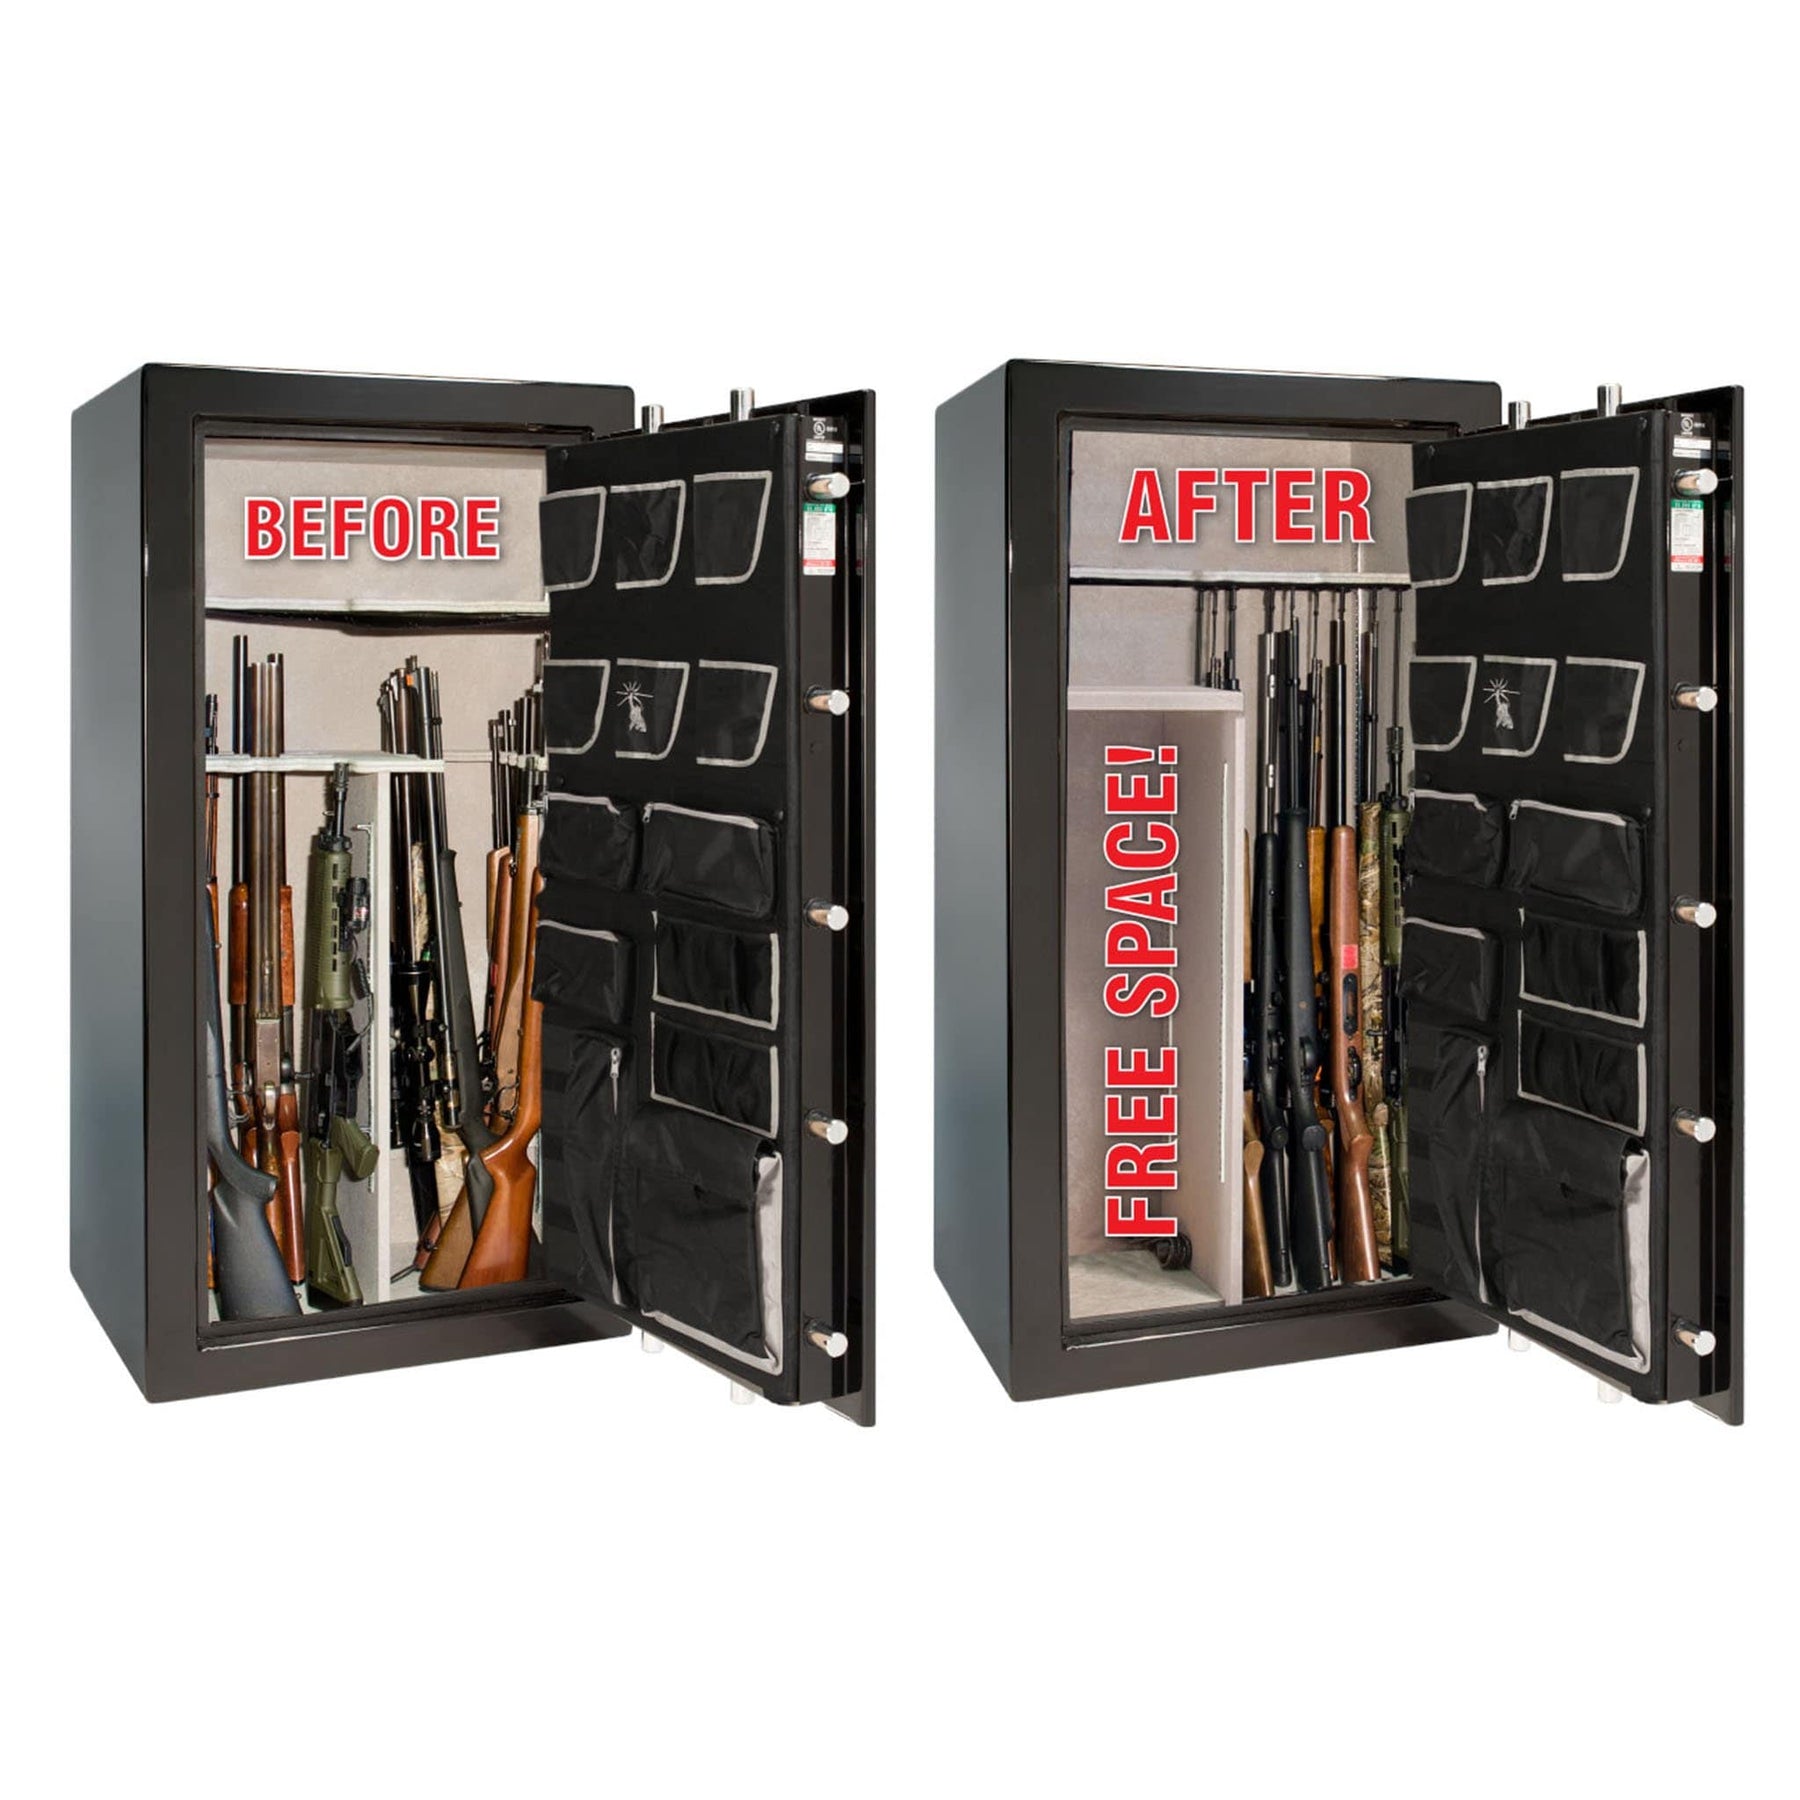
Discover the ultimate solution for maximizing the storage of your long guns with Liberty Safe's Rifle Rods. With these innovative 16” coated rods, you can effortlessly customize your gun safe, fitting up to 50% more firearms.

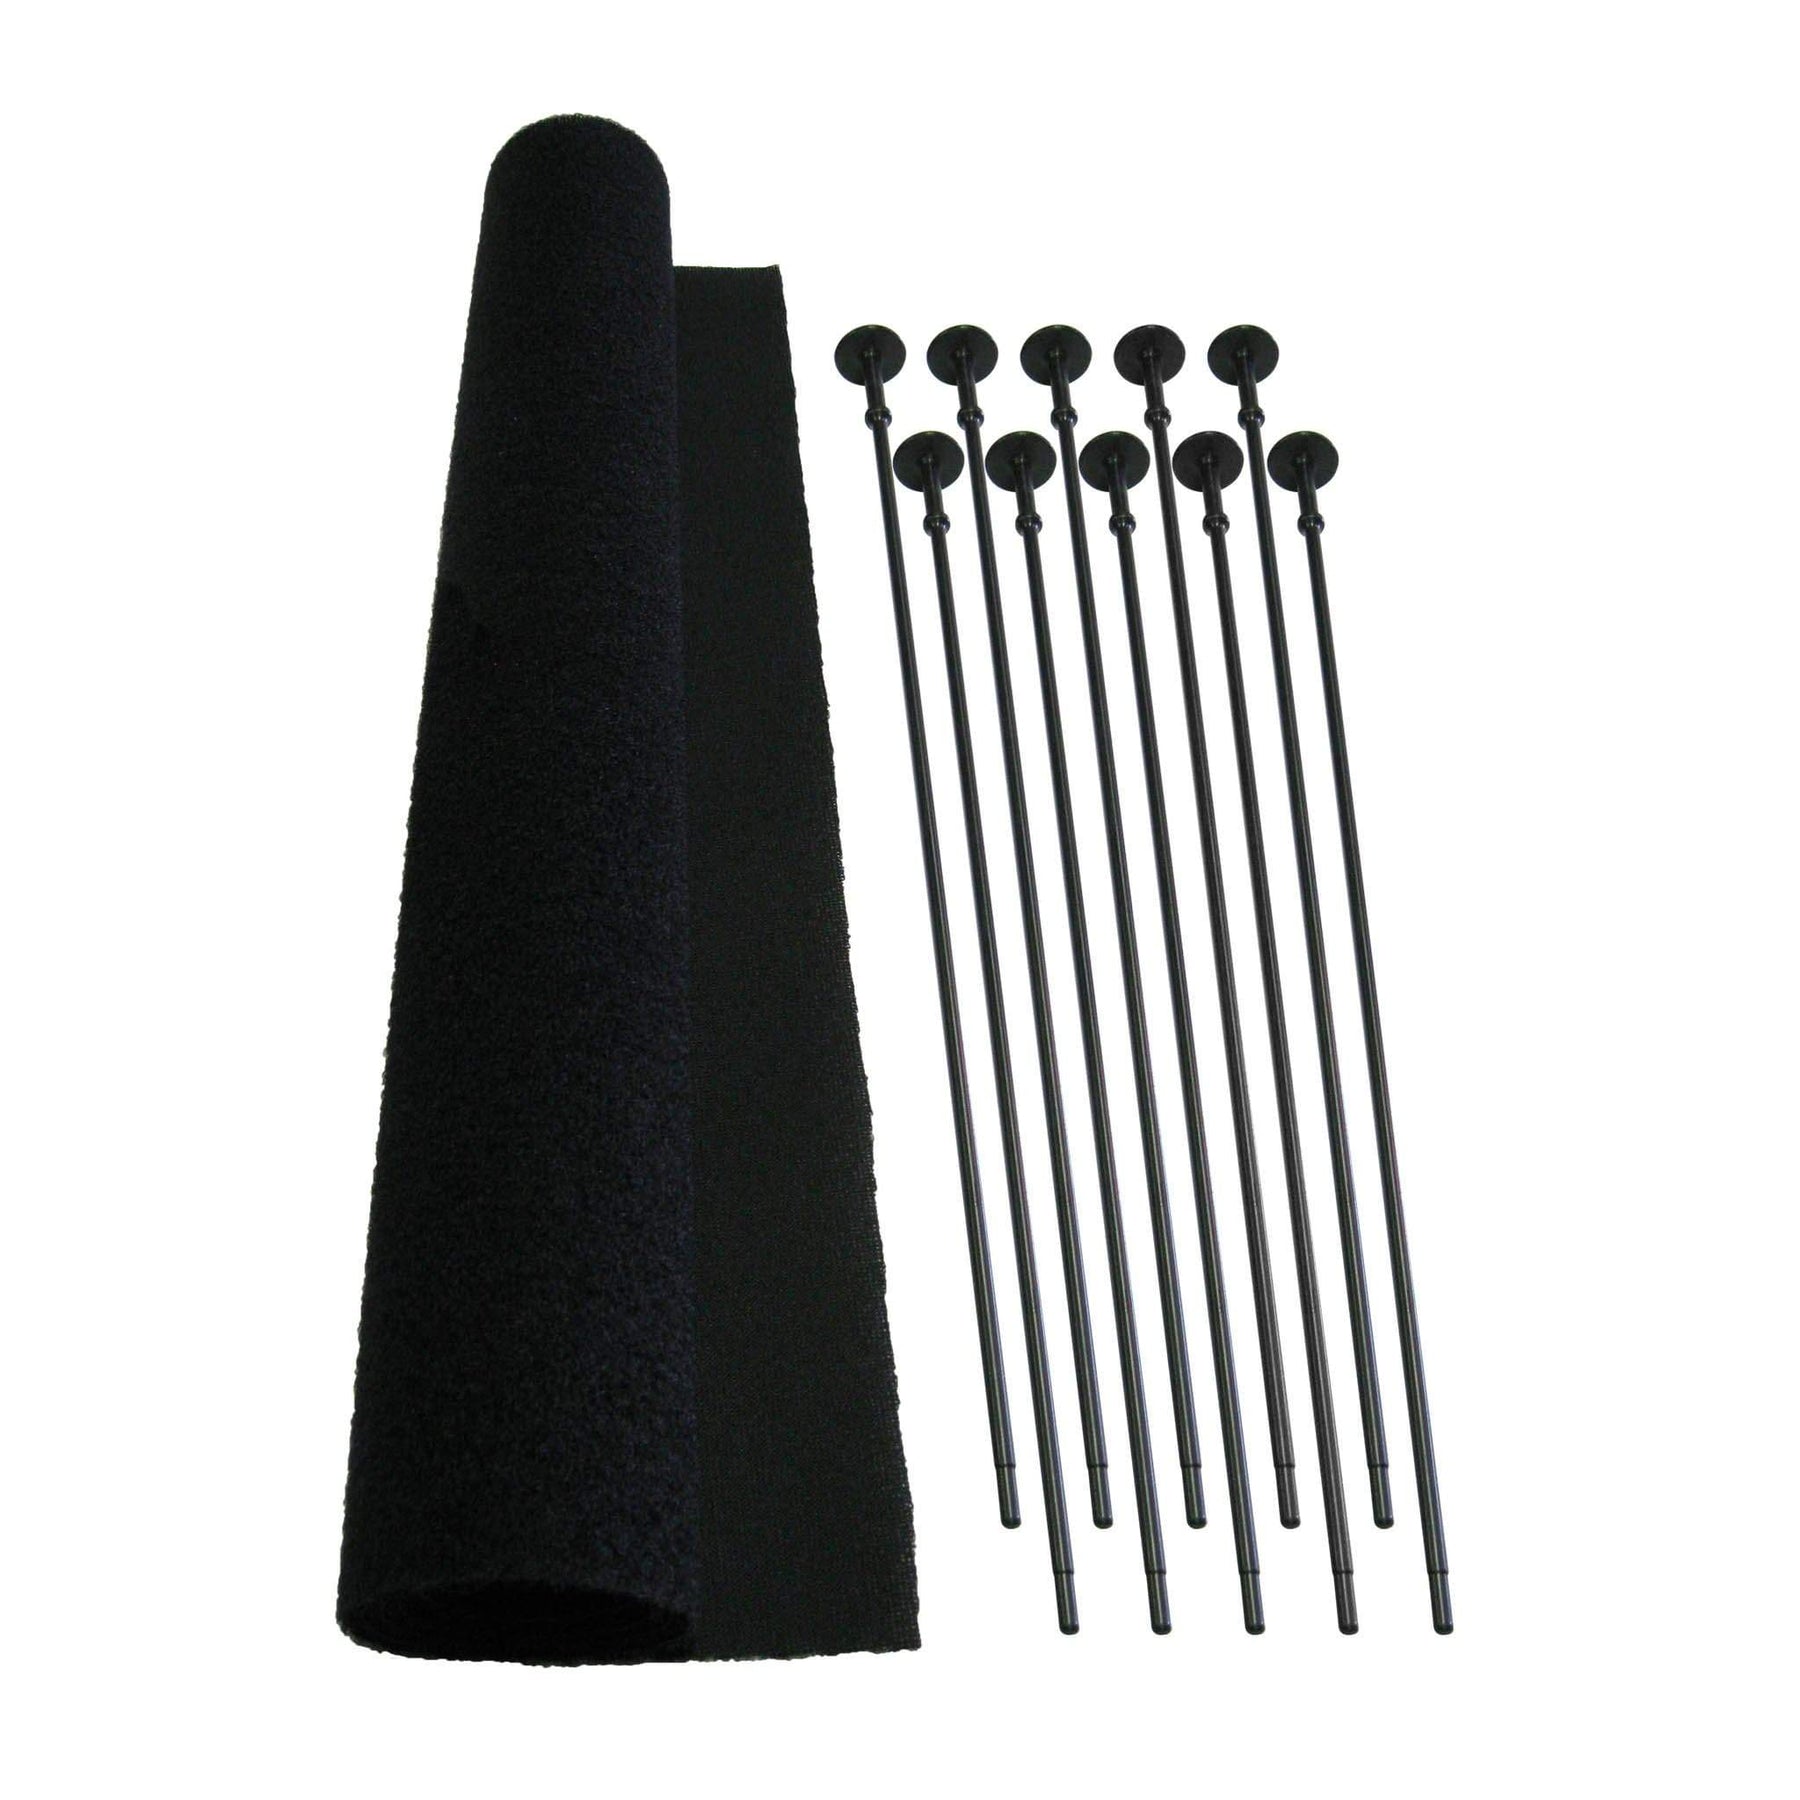
Simply insert the Rifle Rods into the bore of your rifles or shotguns, allowing them to extend to the "roof" of your chosen space. The velcro tabs on the rods end securely lock into corresponding velcro material under the shelf or ceiling, ensuring your guns remain in place and preventing any movement. Whether you have short-barreled rifles, carbines, youth-sized shotguns, rifles, or scoped rifles, Rifle Rods provide the perfect storage solution.

The 10 and 20 kits include an appropriately sized Velcro sheet for easy installation under a shelf or to the ceiling of your safe, ensuring a seamless setup process. Additionally, add-on kits are available, allowing you to expand your storage capacity effortlessly as your long gun collection grows. The 6 and 17 packs do not come with velcro.

Say goodbye to clutter and inefficiency in your gun safe—unlock the full potential of your storage space with Liberty Safe's Rifle Rods. Invest in this innovative solution today and experience the convenience of optimized firearm storage.

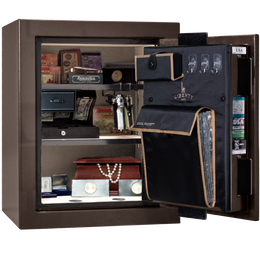
  • For use under any flat surface/shelf (gun safes, cabinets, closets, etc.)
  • Utilize previously wasted space
  • Maximize your safe’s capacity
  • Great for guns with scopes
  • Fits .22 caliber and larger bores
  • .17 Caliber is available separately in 2-pack
  • MADE IN THE USA

NOTE: The dimensions of the VELCRO material enclosed in the 10 or 20-pack starter kit come in the following sizes. The 6-pack or 17-cal pack does not come with the fabric.

  • 20 Pack Starter Kit: 30" X 19"
  • 10 Pack Starter Kit: 15" X 19"

Part Numbers:

17 Cal. 2 Pack 6 Pack 10 Pack 20 Pack

10818

10819

10820

10821

Customer Reviews

Based on 13 reviews
54%
(7)
0%
(0)
15%
(2)
15%
(2)
15%
(2)
T
Timothy W.
Rifle Rods

Definitely opens up the space in your safe for long guns. A great way to add more long guns to your safe

E
Eric G.

I didn't get the cloth with it .

Hi, what cloth are you referring too? Can you please reach out to our customer support at https://www.libertysafe.com/pages/contact-us

E
Eric G.

I didn't get the cloth with it .

G
Gun D.
Rifle Rods

Rifles do not slip. Great for tight spaces. Suggest using lowest shelf available and the enclosed loop material

G
Gun D.
Rifle Rods

Rifles do not slip. Great for tight spaces. Suggest using lowest shelf available and the enclosed loop material

K
Keith C.S.A.
Rifle Rod Accessory

The Rifle Rod accessory is really handy f you have a few more rifles than slots. I purchased the 10-set a few years back and just now made an installation of it.

Removal of the main shelf is simple and allows you easily work on the underside of it on a workbench.

First of all I used printer paper sections and tape to create a template of the underside of the shelf where the rifles sit. You should leave a 1" space at the right-hand ends as that is where two of the shelf clips will sit. You don't HAVE to leave those two spaces open as the Velcro is thin enough to not cause a shelf-tilt; that is just the way I did it.

I did make the template cover "above" the side slots, too, as that might come in handy sometime. If needed, the Velcro will already be in place. (The instructions also recommend placing Velcro above the "slots.") If you do it the way I did, you will be left at the end of the installation with only a few small pieces of Velcro. There will be VERY little waste to toss.

You will have to cut a few smaller pieces to fit various areas here and there; these are the areas that you cannot cover with your large "main" one-piece section of the Velcro.

The only installation tools you will need are a small flat-blade screwdriver and an Office-type "heavy duty" stapler that accepts 1/4" BOSTITCH staples. There are other type of staplers available but that is what I had on hand at home. In order to use the stapler, I removed an "e" clip and a cross-pin. That allowed me to remove the base and use just the top part of the stapler by itself. (My stapler does not open up 180 degrees.) You have to press firmly and carefully on the stapler to get the staples into the wood without "canting" the stapler and having the staples go in crooked or not at all. (You get a feel for it after a dozen staples or so.) You will feel the staples going FIRMLY into the wood panel and they are NEVER EVER going to come out.

The flat-blade screwdriver is for prying out the staples you fail to install properly. They should go in flat and the nice thing is that they will not cut through the Velcro.

When attaching the Velcro I started at the EXACT center of the largest area and worked my way out, placing the staples every three inches in vertical and horizontal rows until the entire Velcro material was stapled. Then I finished up with a "perimeter" of staples around the entire installation so as to not have drooping edges, and to make it all look nice. The instructions recommend placing the staples at three inch intervals and that works out great.

Hope my post here will help if anyone has any doubt as to doing this task.

If I can do it A-N-Y-O-N-E can do it!

L
Luke
Nice, but . . .

They would be much better if they were offered in a larger caliber for the bigger weapons. They really don't work well in something much bigger than an AR.

Thanks for the review and feedback. Definitely something we can take to our product development team about adding rods for larger caliber rifles.

You may also like


Recently viewed